1. Desk & Storage Solutions:
Floating Desk: Create a sleek and space-saving desk by attaching a sturdy wood plank to the wall. Add shelves or drawers underneath for storage.
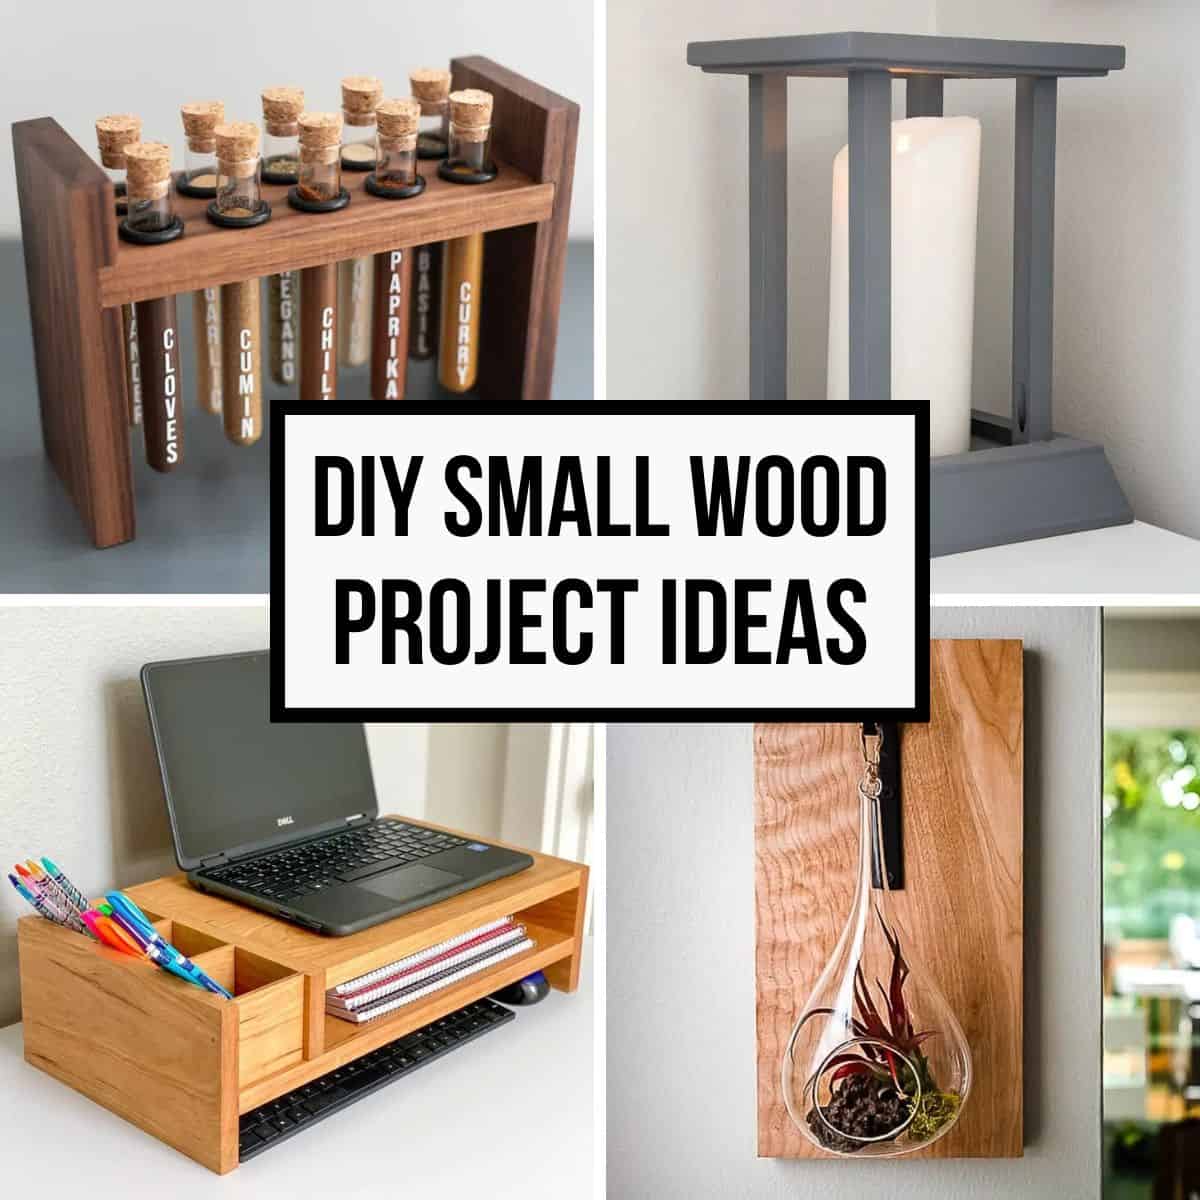
DIY Desk Organizer: Build a custom organizer with compartments and drawers to hold your pens, pencils, stationery, and other office essentials.
File Cabinet: Construct a simple yet functional file cabinet from plywood and drawer slides. Customize with paint or stain for a personalized touch.
Adjustable Shelf Unit: Build a customizable shelf unit using wood dowels and shelves. This allows you to adjust the height and configuration to fit your needs.
2. Comfort & Inspiration:
Standing Desk Converter: Upcycle old furniture into a standing desk converter using plywood, legs, and casters.
Wall-Mounted Shelves: Create floating shelves to display decorative items, books, or plants.
Personalized Picture Frame: Frame a motivational quote or a photo that inspires you with a DIY frame made from wood.
Plant Stand: Design a unique plant stand to bring some greenery and life to your workspace.
3. Organization & Functionality:
Magnetic Strip for Tools: Create a magnetic strip for your tools and office supplies using a wooden plank and magnets.
Cable Management System: Build a cable management system from wood to keep your cords organized and out of sight.
Task Lighting: Make a stylish and functional task lamp from wood, a lightbulb, and a lampshade.
Bulletin Board: Construct a custom bulletin board using plywood and cork tiles to display important notes and reminders.
4. Add-ons & Extra Touches:
Chair Mat: Protect your floors and make moving your chair easier with a DIY chair mat made from wood.
Coat Rack: Build a coat rack with hooks to keep your jackets and bags organized.
Desk Organizer: Create a desk organizer with a variety of compartments for your stationery, pens, and other office supplies.
Tips for Success:
Plan ahead: Draw detailed plans and measure carefully before starting.
Use quality materials: Invest in quality wood and hardware for a sturdy and long-lasting project.
Start with simple projects: Build confidence with easier projects before tackling more complex ones.
Don't be afraid to personalize: Add your own style and preferences to each project.
Practice safety: Always wear safety glasses and follow proper woodworking techniques.
With a little creativity and some DIY woodworking skills, you can transform your home office into a functional and stylish workspace that you'll love.
Home » Archives for 2024
Tuesday, November 5, 2024
DIY Woodworking Projects to Create the Perfect Home Office
DIY Woodworking Coffee Table
Here's a step-by-step guide to building a basic, rectangular coffee table using basic woodworking techniques:
Materials:
Wood:
Two 2x12 boards (for tabletop)
Four 2x4 boards (for legs)
Optional: 1x4 boards for decorative trim or supports
Hardware:
Wood glue
Wood screws (2 1/2" and 1 1/4")
Finishing nails
Optional: Stain or paint
Optional: Polyurethane or other sealant
Tools:
Miter saw or circular saw
Drill with drill bits
Sander (orbital or belt sander)
Tape measure
Pencil
Clamps
Level
Safety glasses
Dust mask
Work gloves
Hammer
Steps:
1. Design and Planning:
Determine dimensions: Choose your desired length, width, and height for the table.
Sketch a plan: Draw a simple sketch of the table with measurements to visualize the construction.
Cut list: Create a list of all the wood pieces needed, including their dimensions.
2. Cut the wood:
Tabletop: Cut two 2x12 boards to your desired length.
Legs: Cut four 2x4 boards to the desired height.
Optional Trim: Cut 1x4 boards for decorative trim or supports if desired.
3. Assemble the tabletop:
Join the boards: Apply wood glue to the edges of the two 2x12 boards and clamp them together.
Secure with screws: Pre-drill pilot holes and countersink them for a clean look. Screw the boards together using 2 1/2" wood screws every 12" along the joint.
4. Attach the legs:
Mark leg positions: Measure and mark the positions for the legs on the underside of the tabletop, ensuring they are evenly spaced.
Attach the legs: Apply wood glue to the bottom of each leg and place them onto the marked positions. Secure them with screws. You can use 1 1/4" screws for added stability.
5. Add optional trim or supports:
Attach trim: If desired, attach 1x4 boards to the edges of the tabletop for decorative trim or to create a raised edge.
Add supports: If your table is longer than 3 feet, consider adding supports for additional stability.
6. Sand the table:
Sand rough edges: Sand the edges of the table to smooth out any rough spots.
Sand the entire surface: Sand the entire table, starting with a coarser grit sandpaper and finishing with a finer grit for a smooth finish.
7. Finish the table:
Stain: Apply stain to the table according to the manufacturer's instructions. Let it dry completely.
Paint: Paint the table with your desired color. Let it dry completely.
Seal: Apply a sealant such as polyurethane to protect the table from spills and scratches. Let it dry completely.
8. Enjoy your new coffee table!
Tips:
For a more professional look, consider using a router to create decorative edges on the tabletop or trim.
To create a more rustic look, leave the wood natural or use a distressed finish.
Always wear safety glasses and a dust mask when working with wood and power tools.
Be sure to use clamps to secure your pieces while you are gluing and screwing them together.
Don't overtighten screws, which can damage the wood.
This is just a basic guide; there are countless variations and more complex designs you can explore for your DIY coffee table. Have fun and be creative!
DIY Woodworking Projects That Will Make Your Home More Sustainable
1. Upcycle Old Furniture:
Repurpose a dresser into a bathroom vanity: Sand, paint, and add a countertop to give an old dresser a new life.
Transform a table into a garden bench: Sand, stain, and add a cushion for a comfortable outdoor seating option.
Turn an old door into a headboard: Paint or stain the door and add a decorative trim for a unique and eco-friendly headboard.
2. Build Your Own Compost Bin:
Use recycled materials like pallets or old barrels. You can even build a three-bin system for optimal composting.
Learn about composting methods and create a system that fits your needs.
Enjoy free, nutrient-rich soil for your garden.
3. Craft Wooden Storage Solutions:
Build shelves for your pantry, bathroom, or closet. Utilize salvaged wood or reclaimed lumber for a unique and sustainable look.
Create a DIY spice rack for your kitchen. Use small scraps of wood and a simple design for a functional and decorative piece.
Construct a bookshelf to showcase your favorite books. Choose a style that complements your existing furniture.
4. Enhance Your Outdoor Space:
Construct a raised garden bed. Use wood to create a durable and attractive space for your herbs and vegetables.
Build a birdhouse or feeder. Offer a safe haven for birds while adding a touch of nature to your backyard.
Create a small wooden trellis for climbing plants. Add a touch of greenery and privacy to your outdoor living area.
5. Replace Disposable Items with Wooden Alternatives:
Make your own wooden utensil holders. Store your cutlery in style and reduce reliance on plastic containers.
Craft a wooden soap dish. Eliminate the need for plastic soap pumps and enjoy a natural alternative.
Design a reusable shopping bag. Choose a durable wood like bamboo for a stylish and eco-friendly option.
Bonus Tip: Always choose reclaimed or sustainably sourced wood whenever possible. Consider using wood from old barns, pallets, or salvaged lumber for a truly eco-friendly approach.
Remember: These are just a few ideas to get you started. With a little creativity and some woodworking skills, you can create numerous sustainable projects that enhance your home and reduce your environmental impact.
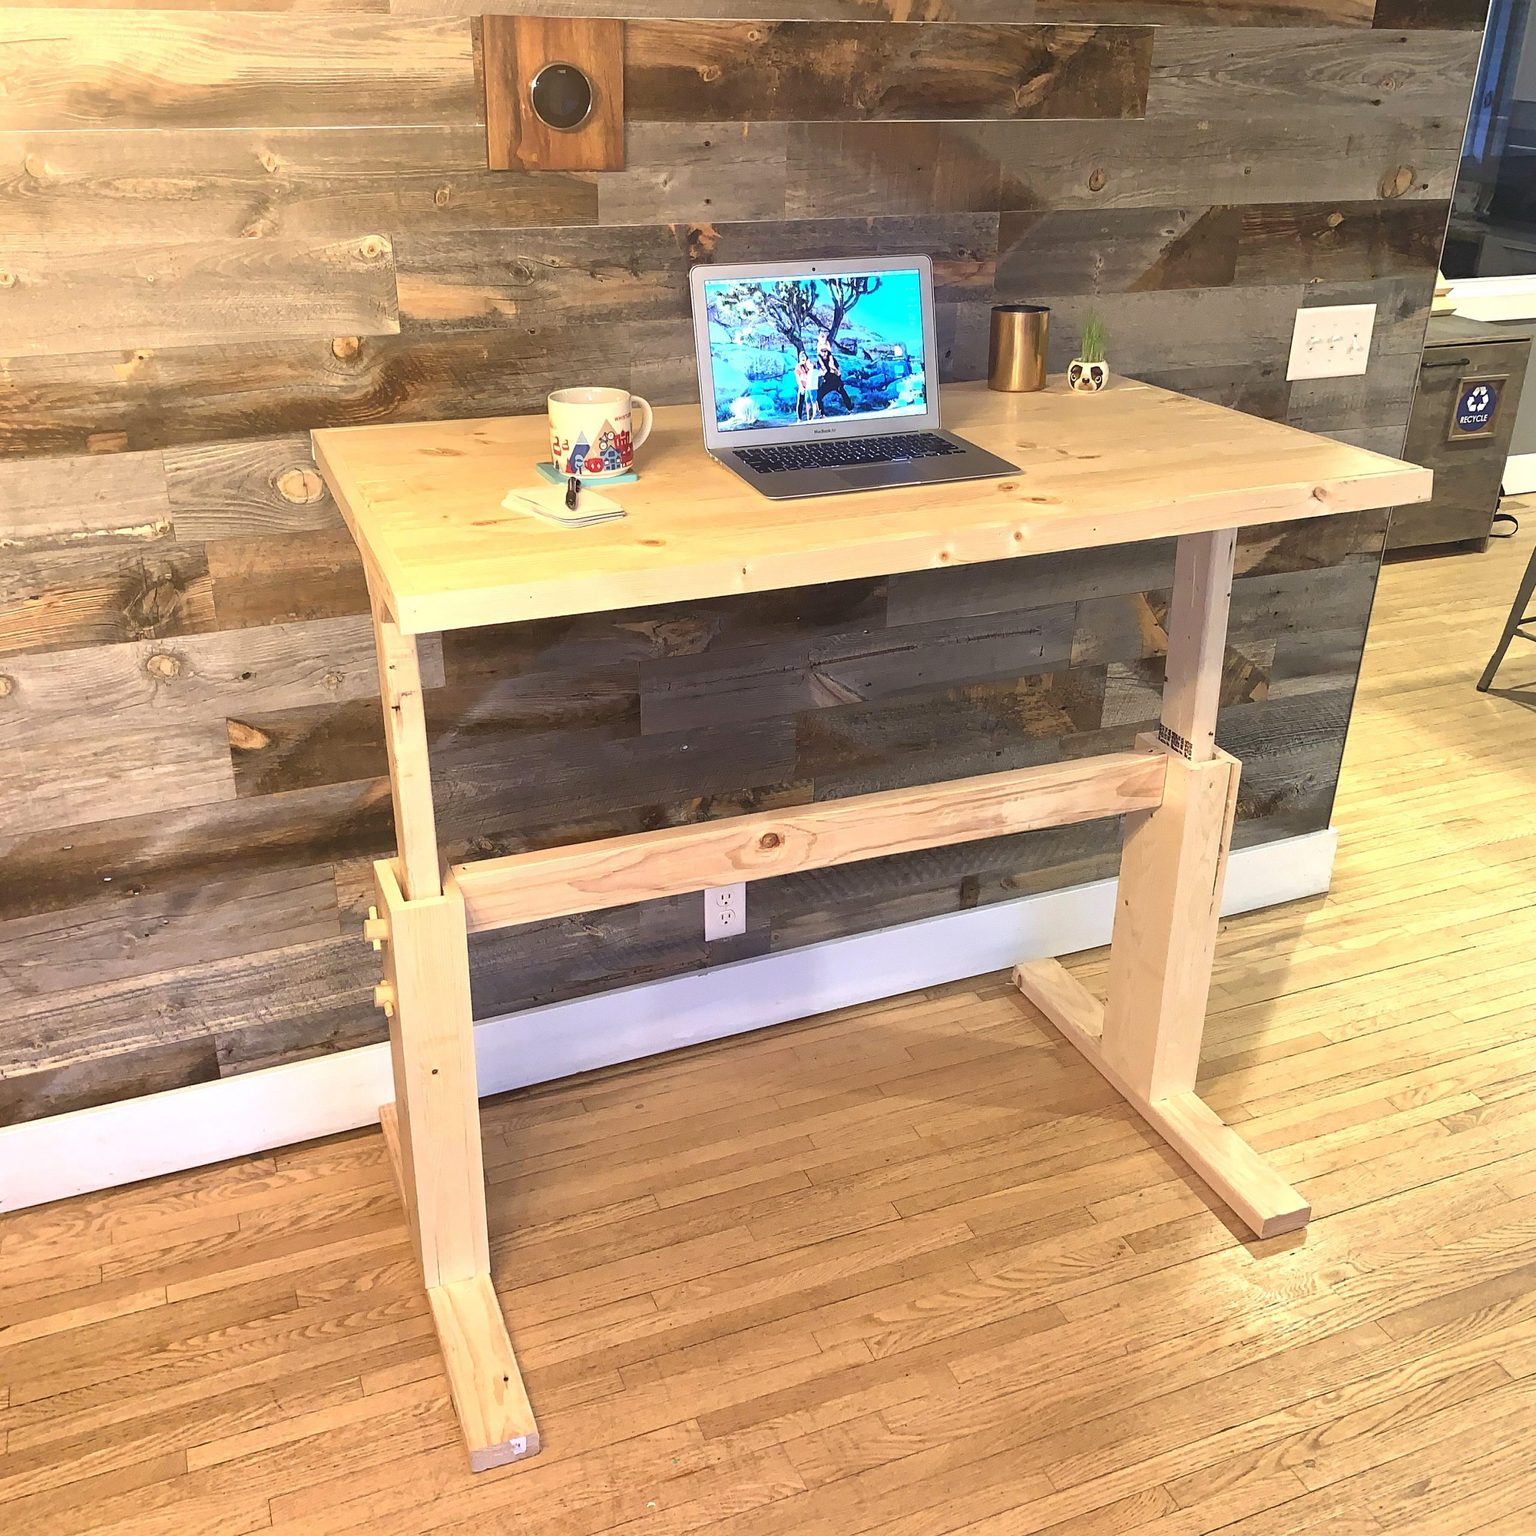
How to Build Your Own DIY Standing Desk for a Healthier Workday
Working from home can be a blessing and a curse. While it allows flexibility and comfort, it also presents challenges, especially to your health. A standing desk can help combat the negative effects of prolonged sitting, boosting your energy, posture, and overall well-being.
Here's how to build your own DIY standing desk:
Materials:
Base:
Two sturdy table legs (24"-30" tall) or heavy-duty wooden planks.
Corner braces or metal brackets to attach the legs to the top.
Wood screws, drill, and drill bits.
Top:
Thick plywood, butcher block countertop, or sturdy table top (choose a size that suits your needs).
Wood stain or paint (optional) for a personalized look.
Optional Accessories:
Drawer slides for adding storage drawers underneath.
Cable management solutions to keep cords organized.
Anti-fatigue mat for added comfort.
Tools:
Measuring tape
Pencil
Saw (circular or jigsaw)
Sander
Level
Screwdriver or drill
Safety Glasses and hearing protection
Instructions:
1. Measure and Cut: Determine the desired height of your standing desk and measure your chosen table top. Cut the legs to the desired height using a saw. If using planks, measure and cut them to create a sturdy base frame.
2. Assemble the Base: Attach the legs to the base frame using corner braces or metal brackets. Ensure the base is square and level using a level.
3. Attach the Top: Place the table top on the base frame and secure it using screws or brackets. If using a countertop, ensure you have a solid surface to attach it to.
4. Finish & Personalize: Sand the surface of the desk smooth and apply wood stain or paint if desired. Install any drawers, shelves, or cable management solutions you want to add.
5. Position and Adjust: Place your desk in a comfortable spot with ample space for moving around. Consider adding a footrest or anti-fatigue mat for extra comfort.
Tips:
Choose quality materials: Opt for strong and durable materials for a sturdy and long-lasting desk.
Consider your workspace: Ensure your desk is wide enough for your monitor, keyboard, and any other accessories.
Safety first: Wear safety glasses and hearing protection when working with power tools.
Start slowly: Begin with short intervals of standing work and gradually increase the duration.
Adjust the height: Make sure your elbows are at a 90-degree angle while typing or working.
Alternatives:
IKEA hack: Use a pre-made IKEA desk and add adjustable legs.
Convert an existing table: Add adjustable legs to your current table to transform it into a standing desk.
Ready-made standing desk: Purchase a pre-assembled standing desk for convenience.
By building your own DIY standing desk, you can create a healthy and ergonomic workspace that fits your needs and style. Remember to focus on your well-being and make gradual changes to your workday routine.
DIY Woodworking Projects to Create a Stunning Entryway
Here are some DIY woodworking projects that will transform your entryway from drab to fab:
Simple & Stylish:
Floating Shelves: Build a set of floating shelves to showcase decorative items, books, or even a small plant. You can choose from different wood types and stains to match your entryway decor.
Coat Rack: Craft a unique coat rack with rustic branches, reclaimed wood, or even repurposed pallet wood.
Entryway Bench: A simple bench can add both practicality and style. Choose a design that complements your existing furniture and add a cushion for extra comfort.
Mirror Frame: Upgrade a basic mirror with a custom-made wood frame. You can create a sleek modern look with straight lines or a rustic farmhouse style with distressed wood.
Advanced & Impressive:
Custom Mudroom Organizer: Design a freestanding mudroom organizer with cubbies for shoes, hooks for coats, and a bench for putting on your shoes.
Entryway Console Table: A handcrafted console table can serve as a focal point in your entryway. Use reclaimed wood, salvaged materials, or create a unique design with interesting wood joinery.
Shoe Cabinet: Build a stylish and functional shoe cabinet to keep your entryway tidy. You can design it with drawers, shelves, or even a combination of both.
Custom Doorway Arch: Create a grand entrance with a custom-made doorway arch. You can use traditional arch shapes or get creative with modern designs and different wood finishes.
Tips for Success:
Plan Ahead: Sketch out your project, choose your wood, and determine the necessary tools and materials.
Measure Twice, Cut Once: Accuracy is crucial for a successful project. Double-check your measurements before making any cuts.
Safety First: Always wear appropriate safety gear, such as safety glasses and gloves, when working with wood.
Sand and Finish: Take your time sanding your project to a smooth finish. Apply stain or paint to achieve the desired look.
Bonus:
Upcycle Old Furniture: Give a new life to old furniture by transforming it into a unique entryway piece.
Use Reclaimed Wood: Repurpose old wood from pallets, barns, or even your own home for a rustic and environmentally friendly project.
Experiment with Different Finishes: Explore different wood finishes, stains, and paints to achieve the desired look for your entryway.
Remember, woodworking can be a challenging but rewarding hobby. With a little planning and patience, you can create a stunning entryway that will welcome you home with style.
Transform Your Bedroom with These DIY Woodworking Bed Frame Ideas
Tired of the same old bed frame? Want to add a touch of personal style and unique charm to your bedroom? Then it's time to embrace your inner woodworker and build your own bed frame!
This guide will inspire you with creative DIY woodworking ideas that will help you transform your bedroom into a haven of comfort and style.
Beginner-Friendly Options:
Pallet Bed Frame: This eco-friendly option is a great starting point for beginners. Use reclaimed pallets to create a rustic and affordable bed frame.
Simple Platform Bed: With just a few basic cuts and some wood screws, you can build a sturdy and stylish platform bed frame.
Headboard Upgrade: If you're happy with your existing bed frame but want to add some personality, create a DIY headboard. Use plywood, reclaimed wood, or even fabric for a unique touch.
Intermediate Projects:
Sleigh Bed: Add a touch of elegance and grandeur to your bedroom with a DIY sleigh bed. This project requires more precision and joinery but is well worth the effort.
Canopy Bed: Create a romantic and dreamy atmosphere with a DIY canopy bed. You can use wood for the frame and fabric for the canopy.
Storage Bed: Maximize your space and keep your bedroom tidy with a DIY storage bed. Incorporate drawers, shelves, or a hidden compartment for extra storage.
Advanced Woodworking Challenges:
Four-Poster Bed: For the ultimate woodworking challenge, attempt a grand four-poster bed. This project requires advanced joinery skills and attention to detail.
Custom Bed with Built-in Nightstands: Create a truly unique and functional bed frame with built-in nightstands. This project will require precise measurements and careful planning.
Tips for Successful DIY Bed Frame Projects:
Plan your design: Sketch out your idea and determine the dimensions and materials needed.
Choose the right wood: Select sturdy and durable wood for your bed frame. Consider the style and desired weight capacity.
Use appropriate tools and safety gear: Ensure you have the necessary tools and always prioritize safety.
Take your time and be patient: Woodworking projects can take time. Enjoy the process and don't rush.
Finish and protect your masterpiece: Sand, stain, paint, or oil your bed frame to achieve the desired look and protect it from wear and tear.
Beyond the Basics:
Add personality with accents: Incorporate decorative elements like molding, trim, or unique hardware to personalize your bed frame.
Upcycle furniture: Repurpose old doors, windows, or furniture pieces for a truly one-of-a-kind bed frame.
Get creative with materials: Explore beyond traditional wood and use materials like metal, reclaimed materials, or even fabric.
Ready to build your dream bed frame? Don't be intimidated. With the right plan, tools, and passion, you can create a beautiful and functional centerpiece for your bedroom. Start your woodworking journey today!
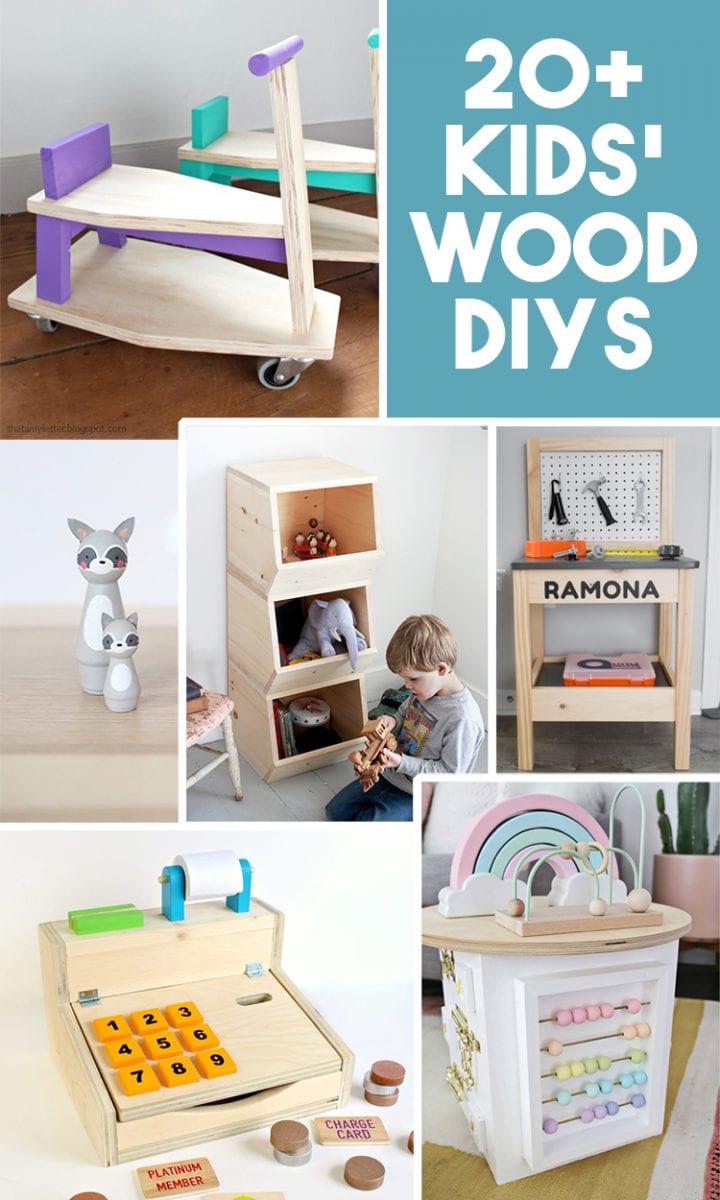
DIY Woodworking Projects for Your Kids' Playroom or Bedroom
Simple and Fun:
Toy Storage Bins: Build cute and colorful bins for toys, books, or clothes. Use scrap wood, paint, and some decorative elements like knobs or handles.
Wall Shelves: Create whimsical shelves for displaying favorite toys, books, or artwork. Shape the shelves like clouds, stars, or animals for extra charm.
Wooden Toy Boxes: Design a classic toy box with a hinged lid or a sliding drawer. Personalize it with your kid's favorite color, character, or inscription.
Picture Frame Collage: Build a frame for a picture collage using thin wooden strips and paint. Kids can decorate it with their own drawings or photos.
Playhouse Door: Make a mini-door for your child's pretend play area. Use leftover wood scraps and paint to create a realistic or fantastical door.
More Challenging Projects:
Mini Play Kitchen: Build a scaled-down kitchen with a sink, stove, and cabinets. Use plywood, paint, and some basic hardware.
Wooden Dollhouse: Create a charming dollhouse with multiple rooms and windows. Use different wood types and details to personalize it.
Treehouse Platform: Build a safe and sturdy treehouse platform for kids to play and enjoy the outdoors. Use pressure-treated lumber and follow safety regulations.
Custom Play Table: Design a unique play table with specific features like built-in storage, a chalkboard surface, or a sandpit area.
Bookcase with a Twist: Build a bookcase with hidden compartments, secret doors, or a built-in reading nook. Get creative and make it a magical space for kids.
Tips for Working with Kids:
Start Simple: Choose projects that are age-appropriate and manageable.
Safety First: Use safety glasses, gloves, and other protective gear.
Let Them Help: Involve kids in the process by letting them paint, sand, or add details.
Make It Fun: Play music, have snacks, and make it a collaborative experience.
Celebrate Success: Take pride in your child's creations and encourage their efforts.
Materials You'll Need:
Wood (plywood, pine, cedar, etc.)
Screws, nails, and glue
Paint, stain, or varnish
Hardware (hinges, handles, knobs)
Power tools (saw, drill, sander)
Safety gear
Resources:
YouTube Tutorials: Search for woodworking project ideas and tutorials for kids.
Pinterest: Find inspiration for creative designs and projects.
Woodworking Blogs: Many blogs offer tips, techniques, and project guides for beginners.
Remember to always prioritize safety and have fun with your woodworking adventures!